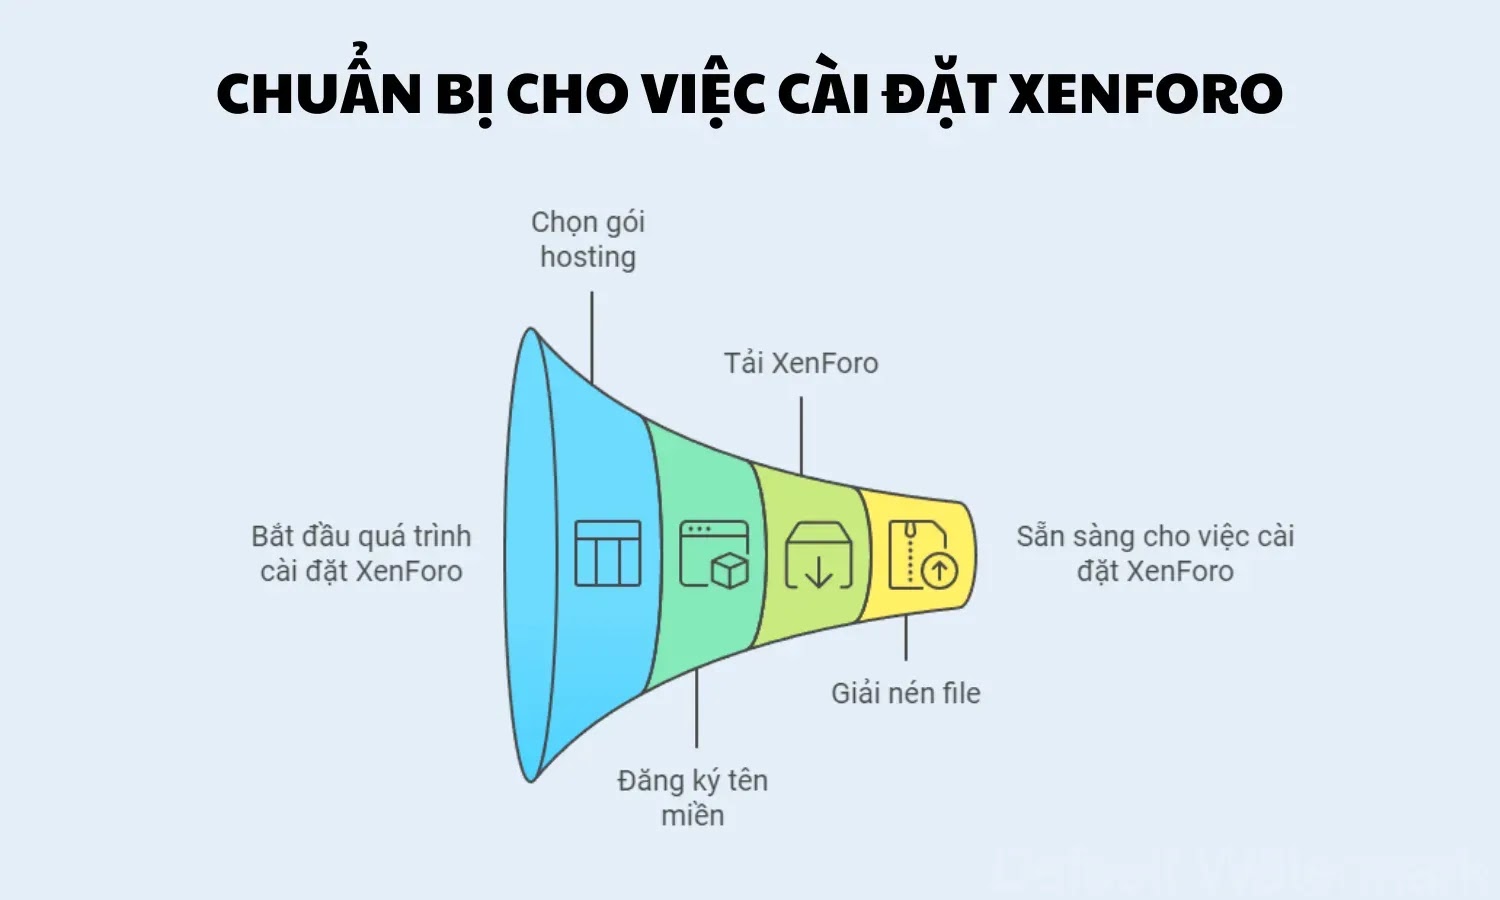
Connecting XenForo 1 to your own domain is an important step in making your forum look more professional and accessible. This helps enhance the forum’s brand and improve SEO, while also creating trust with users. This article will show you in detail how you can connect XenForo 1 to your own domain name, from buying a domain name to installing DNS and adjusting hosting configurations.

1. Step 1: Buy Domain Name
First, you need to own a separate domain name to connect to your XenForo forum. There are many reputable domain name providers such as Namecheap, GoDaddy, Google Domainsetc. You can choose a domain name that matches your brand and buy it from one of these providers.
When purchasing a domain name, make sure to choose a domain name that is short, easy to remember, and appropriate to the topic of the forum. For example, if you create a forum about technology, you might choose a domain name like techforum.com or congngheforum.vn.
Instructions for buying domain names
- Visit the domain name provider’s website (e.g. Namecheap, GoDaddy).
- Search for the domain name you want to buy and check availability.
- Select domain name and proceed to payment.
- Complete the payment and domain registration process.
2. Step 2: Configure DNS For Domain Name
After purchasing the domain name, you need to configure DNS to connect the domain name to your XenForo hosting server. This is an important step to help your domain name point to the correct IP address of the server.
How to configure DNS
- Visit the domain provider’s DNS management page.
- Find options DNS Management (DNS Management) or Nameservers (Domain name server).
- Add an A record to point the domain name to the IP address of your XenForo hosting server. Configuration is as follows:
- Host: @
- Type: A
- Value: IP address of the host server.
- Press Save (Save) to save the changes.
- Check again to make sure that the domain name is pointed to the correct IP address.
After configuring DNS, it can take anywhere from a few hours to 24 hours for your domain name to become available on the Internet. This process is called “DNS propagation”.
3. Step 3: Install Domain Name On Hosting
Once the DNS has been updated, you need to configure the domain name in your hosting control panel so that it points correctly to the XenForo installation directory.
How to set up domain name on hosting
- Access your hosting control panel (e.g. cPanel, Plesk, DirectAdmin).
- Go to section Domain Management (Domain Name Management) or Addon Domains (Subdomain) if you are installing XenForo in a subfolder.
- Enter your domain name and point it to the XenForo installation directory.
- Click Save (Save) to complete the domain name setup process.
Once installed, you can test by entering your domain name into the browser. If everything has been installed correctly, your XenForo forum should be up and running on the new domain.
4. Step 4: Update URL Configuration in XenForo
Once you have successfully connected your domain to the server, the next step is to update the official URL for the forum in the XenForo admin panel.
How to update URLs in XenForo
- Access the XenForo admin console.
- Go to Options (Optional) > Basic Board Information (Basic information about the forum).
- In section Board URLenter the full URL of your forum, for example:
//www.tenmiencuaban.com. - Press Save Changes (Save changes) to apply.
Updating the URL helps ensure all internal links on the forum work properly for the new domain.
5. Step 5: Install SSL (HTTPS Security)
To ensure security and enhance your forum’s SEO, you should install an SSL certificate to support the HTTPS protocol. This will encrypt data transmitted between the server and the user, protecting personal information and creating trust for users.
How to install SSL
- Go to your hosting control panel and find the SSL management section (e.g.: SSL/TLS).
- Select the domain you want to install SSL on and request an SSL certificate from your hosting provider or use Let’s Encrypt (free).
- Once the SSL certificate is installed, you need to update the configuration in XenForo to support HTTPS:
- Visit Options > Basic Board Information.
- Update Board URL to the HTTPS version of the page, for example:
//www.tenmiencuaban.com. - Save your changes.
After successfully installing SSL, your forum will operate securely over HTTPS, improving trust and search rankings.
6. Testing and Troubleshooting
If after performing the above steps your forum is not working as expected, there may be some problems. Here are some common problems and how to fix them:
6.1. Error unable to access page
If you can’t access the forum after setting up your domain name, check your DNS configuration, IP address, and hosting settings to make sure everything is set up properly.
6.2. SSL certificate error
If you receive an error message about SSL, recheck the SSL certificate and make sure it’s installed correctly for your domain.
6.3. Internal links are broken
If some internal links are broken after updating the URLs, check the URL configuration in XenForo and run the feature again Rebuild Cache to refresh the data.
Private domain name
Connecting XenForo 1 with your own domain name is an important step to enhance the professionalism and improve the SEO of your forum. By going through the steps of configuring DNS, installing on hosting and updating URLs in XenForo, you will have a stable operating forum with your own domain name. Don’t forget to install an SSL certificate to secure user information and improve search rankings on Google.


